
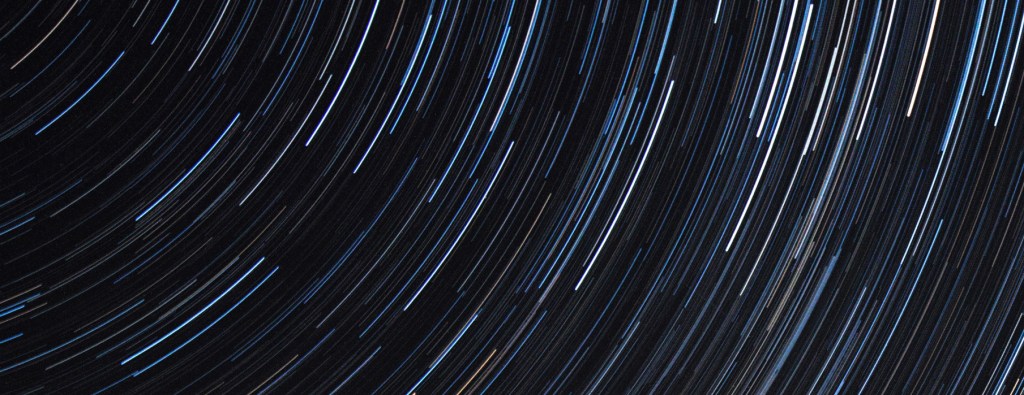
I’ve been dabbling in astrophotography for the last 4 years, so whenever I manage to escape my light-polluted region I try to make the most of the dark skies. It can be a real hassle to take a telescope – especially when travelling – so most of the time I just take my camera and lightweight tripod. Unlike deep-sky imaging, wide-angle astrophotography (e.g. star trails, Milky Way shots) lets you be more creative, capture memories, and achieve a great end result even when conditions aren’t perfect. Yes – it’s possible to take star trails in your back garden or local park.
These are the steps I follow whenever I take a star trail photo on my Canon 70D. It might not suit or work for everyone, but I’m pretty happy with the results so far:

Prep: 30 mins. Imaging: 2 hours. Processing: 1 hour.
You will need:
- 1 DSLR camera
- 1 wide-angle lens, ideally in the range 10-18mm
- 1 shutter release, doesn’t need to be fancy
- 1 camera tripod
Method:
1. Choose a suitable location and time
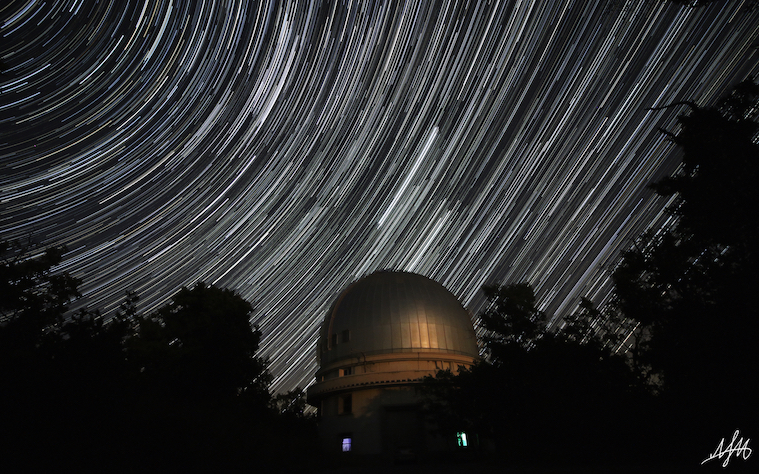
The most important thing, as you may imagine, is finding somewhere with clear, dark skies. It doesn’t have to be a world-class dark sky site, just somewhere far enough from bright lights that you can see a reasonable number of stars. Ideally, you’d like your site to have wide horizons, but having something distinctive in the foreground can add a whole extra dimension to your photo.
Regularly checking a weather forecast the days and hours before you plan to go out is crucial – I highly recommend Clear Outside and meteoblue. Besides the obvious (clouds, rain), here are some things to consider when planning your night:
- Humidity – this could cause your lens to fog up
- Temperature – your camera sensor will suffer less from noise at cooler temperatures
- Wind speeds – fast winds could wobble your tripod and disrupt the star trails
- The moon – it will drown out most of the fainter stars, so try to avoid it
- Starlink – check if any space junk is passing over your location in advance via a website or app (e.g. Heavens Above), so you don’t get any nasty surprises
2. Put your camera in the right modes
Make sure to shoot as RAW+JPG. Usually it’s possible to make a great star trail photo with JPGs alone, but sometimes you’ll want to make edits and for this you’ll need the uncompressed raw images. You’ll also need to be in fully manual mode – this includes no auto focus (it’s too dark and it won’t work), no auto noise reduction (this will result in gaps in your star trails) and no image stabilisation (it’s too dark). The shutter mode should be high speed continuous. I would also advise that you turn your camera’s screen brightness right down if you value your night vision, check that your battery is fully charged and you have plenty of free disk space before heading out.
3. Find your spot and get set up
Once you’re at your site, find somewhere to set up your camera and tripod. Is there something nearby that could ruin your photo, e.g. a road (car headlights) or footpath (people with flashlights)?
Let your eyes adjust to the darkness and take a look through the camera’s viewfinder. Try to get a vague idea of what you’ll photograph but don’t spend too much time getting this perfect – you’ll probably need to move the camera out of position to focus it. The most important thing at this stage is to pick your focal length.
If you’re not sure where to start, consider the position of an object in the foreground (tree, rock, building, etc.) and where the north or south celestial pole is – this is where the centre of the concentric circles formed by the stars will be. If you don’t know how to find the pole star, use a planetarium app. Make sure you get some ground in the shot for perspective, but not so much that you miss out on the stars.
4. Focus the camera
This can be a fiddly and frustrating process. If you change focal length you will lose the focus and need to start again.
- Look for a distant light source. This could be a street light, a bright star/planet, or your friend who’s kindly offered to stand 50 metres away from you with a torch.
- Switch your camera to live view (video mode) and crank the ISO up to maximum.
- Digitally zoom in on your light source.
- Manually adjust the focus until the light source is as small as possible.
5. Perfect your shot, check focus
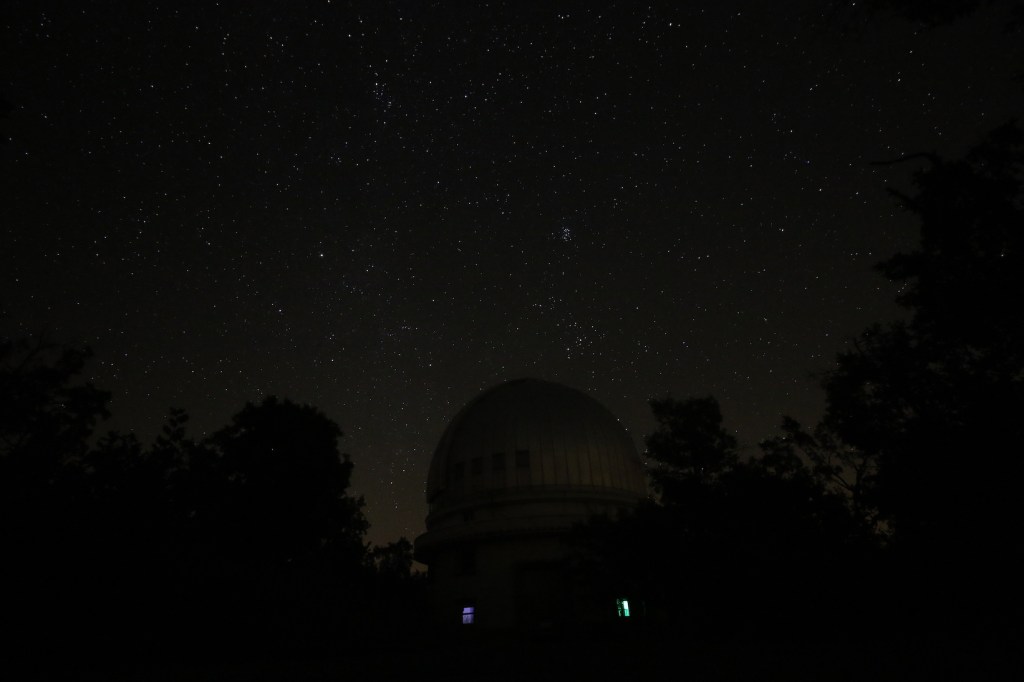
Point your camera back to where you had it before the focusing step. Spend a bit more time here getting the composition right – you can test this by taking some rough test shots. Boost the ISO to maximum and set the exposure time to a few (2-5) seconds.
Check the focus is good by zooming all the way in on a test image; the stars should be crisp and depending on your setup you might be able see them starting to form trails. It’s worth taking the time to get all of this right before you start taking hundreds of images.
6. Adjust settings
My star trail images are made by stacking lots of short exposures. This gives more control over the end result and is less risky than the alternative (a single long exposure) – if something goes wrong, you can remove a single frame (or set of frames) rather than having to scrap the whole thing.
You’ll want to play about with the settings to find the best combination for your camera and your environment – you’ll find that this might change depending on your location. Here’s a summary of the different settings I start off with:
- Focal length: Capturing a landscape and the stars demands a small focal length, but you should experiment to find what best suits your scene. I often find myself sticking to 12-14mm.
- F/number: You want to let in as much light as possible, so set this as low as your lens allows. I tend to use somewhere around f/4.5-5. Be careful with very low f/numbers, as these can give you problems with chromatic aberration.
- ISO: Since the sky looks dark, your initial instinct may be to whack this up as high as possible. However, unless your camera can handle it, you’ll end up with ultra-noisy images. I usually go for somewhere around ISO 3200.
- Exposure time: This needs to be long enough to capture plenty of light, but not so long that leaving out a frame or two will cause a noticeable gap in the star trails. I find 20s to be a reasonable exposure time.
There’s definitely a tradeoff between an image being too dark and too noisy. You need to collect enough light to play with later, but not so much you can’t distinguish the stars from noise. I tend to err on the side of darkness but it’s really just trial, error and personal preference.
7. Set the camera running
Once you’re happy with your setup, click and lock the shutter release button. Assuming the shutter mode is set to high speed continuous, the camera should now automatically take images in quick succession. If you have a more sophisticated shutter release, you should be able to program it to do this (but don’t ask me how).
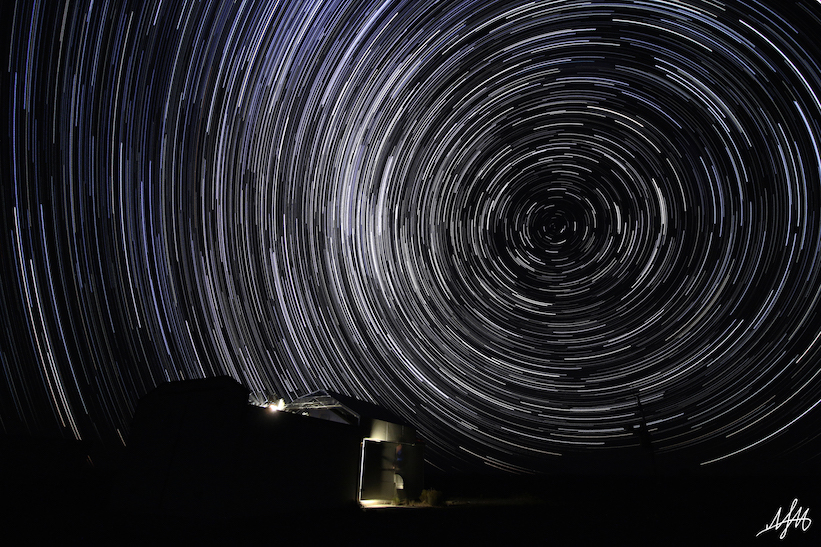
How long should you take photos for? The Earth rotates once every ~24 hours, so one full circle of star trails corresponds to 24 hours of exposures. From experience I can tell you that 2-3 hours is usually more than enough. My absolute minimum is 1 hour. You can always exclude images if you think the trails are too long; you can’t add conjure up images at a later time.
This is where you can sit back, relax, and enjoy the view.
8. Take some dark frames
After your last exposure, put the lens cap on and take another series of images (at least 5). These “dark frames”, when averaged and subtracted from your photos, can remove noise caused by imperfections in the camera sensor (hot pixels). You don’t normally see these bright spots in everyday photos because you’re collecting much more light and this noise gets drowned out.
9. Stacking your images
My go-to piece of software for making star trails is StarStaX. It’s free, works on Mac and Windows, and is very straightforward to use. Drag and drop the images (JPGs) you want into the program, click the stack button, and watch the images form star trails before your eyes.
The program lets you preview and deselect individual images that cause problems in your stacked image, like someone accidentally shining a torch or kicking the tripod (hey, it happens). Sometimes, you might decide to cut out the first or last portion of images if e.g. the sky becomes too bright near sunrise/sunset, or something messes up more than 3-5 consecutive images (this many frames can’t be removed without creating an obvious gap in the trails). There are plenty of settings to experiment with, such as blending, gap filling and comet mode. Once you’re happy, load the dark frames, set it stacking and save the final product.
Tip: If you want to make a time lapse video out of your stacked images, check the “save after each step” box in the Preferences tab.
10. Make adjustments
If you’ve got your settings right, your image won’t need much work at all. I usually just make a few aesthetic adjustments (bring out the foreground, remove annoying lights, objects or planes) in Photoshop, add my watermark and call it a day. You might prefer to subtract your darks or make adjustments to your raw images before stacking them, using Lightroom or similar.
Sometimes an image isn’t salvageable, but don’t be disheartened. It’s more of an art than a science, and you’ll find what works best for you with practice. 🙂


Leave a comment